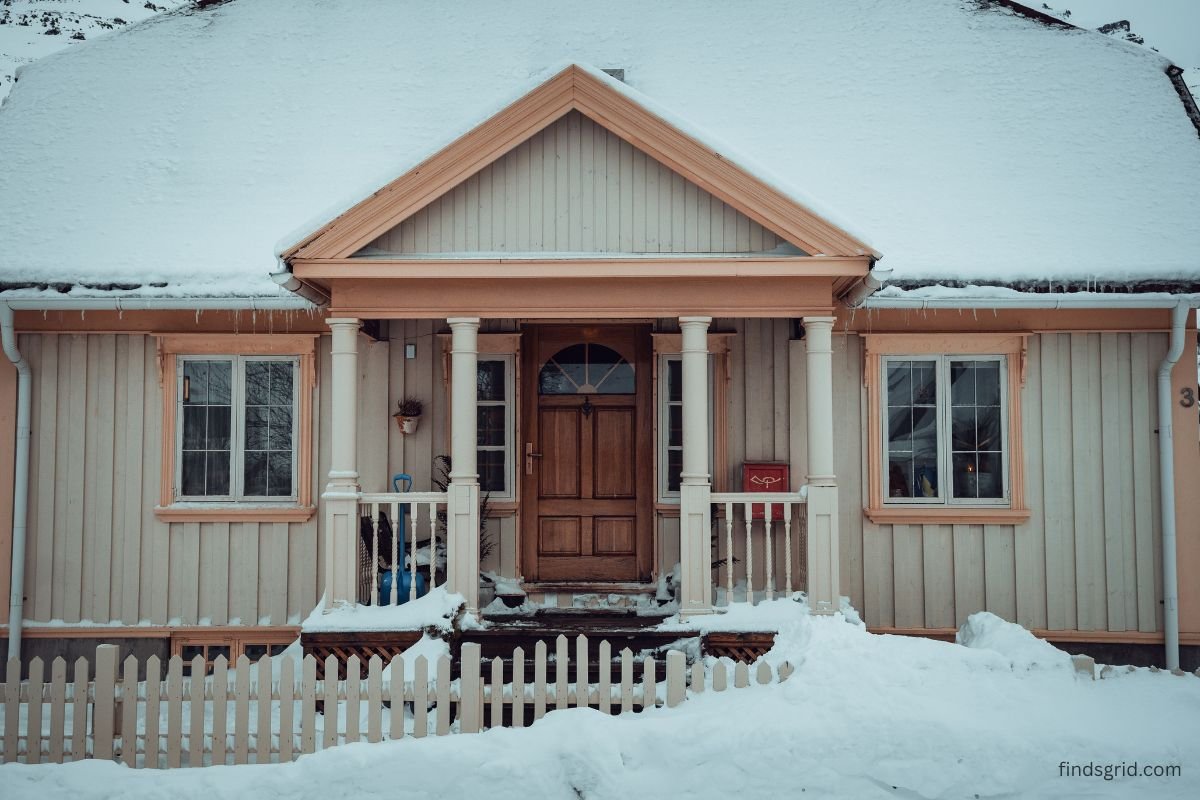
Want to draft proof your house before winter? Start with the physics. Warm air rises. Simple as that. And it’s the reason a home can feel cold even with the furnace running nonstop. Heated air drifts up and slips out through ceiling-level cracks: the attic hatch, recessed light housings, the gaps around a chimney chase. Something has to take its place, so cold air gets pulled in low, through the rim joist, under exterior doors, and past loose window sashes. Building scientists call this the stack effect. Think of it like a chimney that never closes, and the colder it gets outside, the harder it pulls. Heat leaves by conduction and radiation too, but air leakage is the one loss you can actually fix this weekend. Seal the leaks, improve the surfaces that matter, and your heating system won’t have to fight so hard.
Quick Answer
Draft-proofing a home effectively relies on sealing perimeter gaps around windows and exterior doors with weatherstripping, insulating outlet boxes on exterior walls, and blocking attic hatch air bypasses. Applying thermal window insulation film creates an insulating dead-air buffer against cold glass. Keeping damper flues closed when fireplaces are idle prevents rapid warm air loss through the chimney.
Why Air Leakage Is the First Place to Look When You Draft Proof Your House
Heat moves three ways. Conduction carries it through solid material. Convection carries it on moving air. Radiation sends it between surfaces at different temperatures. Insulation mostly handles conduction, while air sealing handles convection. Here’s the thing: in plenty of older houses, convection is the bigger problem.
The U.S. Department of Energy and ENERGY STAR both point to air sealing plus added insulation as one of the most dependable ways to cut heating and cooling use. ENERGY STAR cites roughly 15 percent savings on heating and cooling for a typical home. Your results could land higher or lower. A leaky house with open bypasses has far more to gain than a tight, recently built one.
That’s the logic behind a solid reducing winter heating loss home audit. Find the biggest air pathways first. Close them. Then worry about the small stuff. If you’re also looking for ways to trim your bill beyond sealing, our list of winter home heating hacks covers the thermostat and system side of things. The ten principles below follow the sealing order, more or less.
Principle 1: Understanding the Stack Effect (How Warm Air Escapes Through Unsealed Top Floors)
If you only learn one concept from this guide, make it this one. Stack pressure comes from two things: the temperature difference between inside and outside, and the height of the building. In cold weather, the upper part of a house sits at slightly positive pressure compared with the outdoors, so air gets pushed out. The lower part sits at negative pressure, so air gets pulled in. Somewhere in the middle is the neutral pressure plane, where the two roughly balance.

So what does that mean in practice? Leaks near the ceiling are exits: attic hatches, light housings, wiring and plumbing penetrations, flue chases. Leaks near the floor are entrances: sill plates, rim joists, door thresholds. Seal only the bottom and the house keeps exhausting warm air through the top. Seal only the top and the lower leaks quiet down but don’t disappear.
Truth be told, that’s why a good sealing home heat leaks DIY guide starts at the attic floor, not at the windows. Closing the top-level bypasses lowers the pressure driving air through every other leak in the building. Energy auditors don’t head for the attic first by accident. It’s also the smartest starting point if you want to draft proof your house without wasting effort on the small leaks first.
Principle 2: Thermal Window Film Dynamics (Creating an Insulating Dead-Air Zone)
Old windows lose heat twice. Air sneaks around the sash and frame, and heat conducts and radiates straight through the glass. Interior shrink film goes after both with one thin layer.
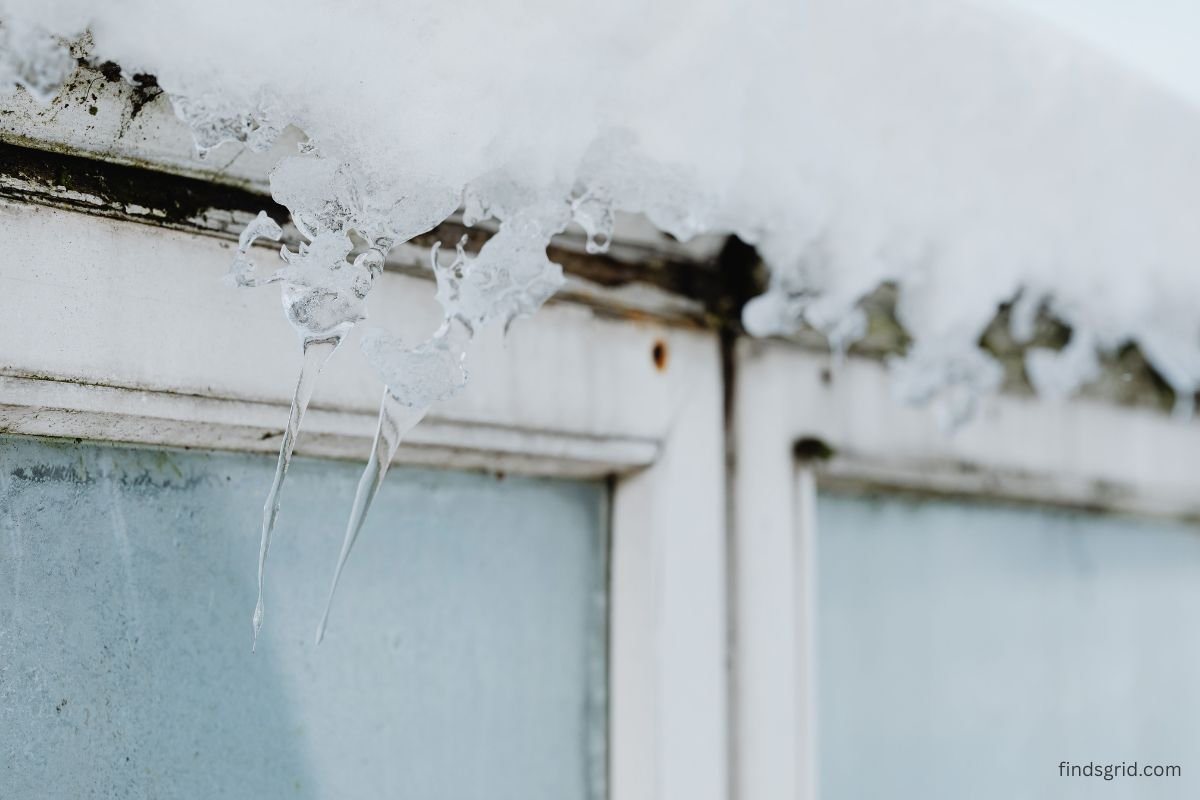
The film gets taped around the frame, then tightened with a hair dryer until it’s smooth. What you end up with is a sealed pocket of still air between the film and the glass. Still air conducts heat poorly, so the pocket slows transfer, and the film itself blocks the little drafts that leak through sash gaps.
If you’re wondering how to stop cold window drafts in winter on windows you can’t replace right now, this is one of the quickest routes. A few details decide whether it works:
- Prep the surface. Tape won’t stick to dust, wax, or cleaner residue. Wipe the frame and let it dry completely.
- Seal every edge. One gap lets room air behind the film, which kills the dead-air layer and can invite condensation.
- Pick the right windows. It suits windows you won’t open until spring. Treat it as seasonal.
The bottom line? Film won’t turn a tired window into a modern low-e unit. But it will cut drafts and ease that cold-glass feeling you get sitting near a window, and that matters for comfort as much as for energy.
Principle 3: Outlet and Switch Gasket Seals (Blocking Concealed Wall Cavity Drafts)
Outlets look harmless. They aren’t. Every outlet and switch on an exterior wall is a small hole in the air barrier, and behind the cover plate the box often opens into a wall cavity. In many homes that cavity connects to the attic, the basement, or both. Air travels up and down inside it and leaks into the room through the box.
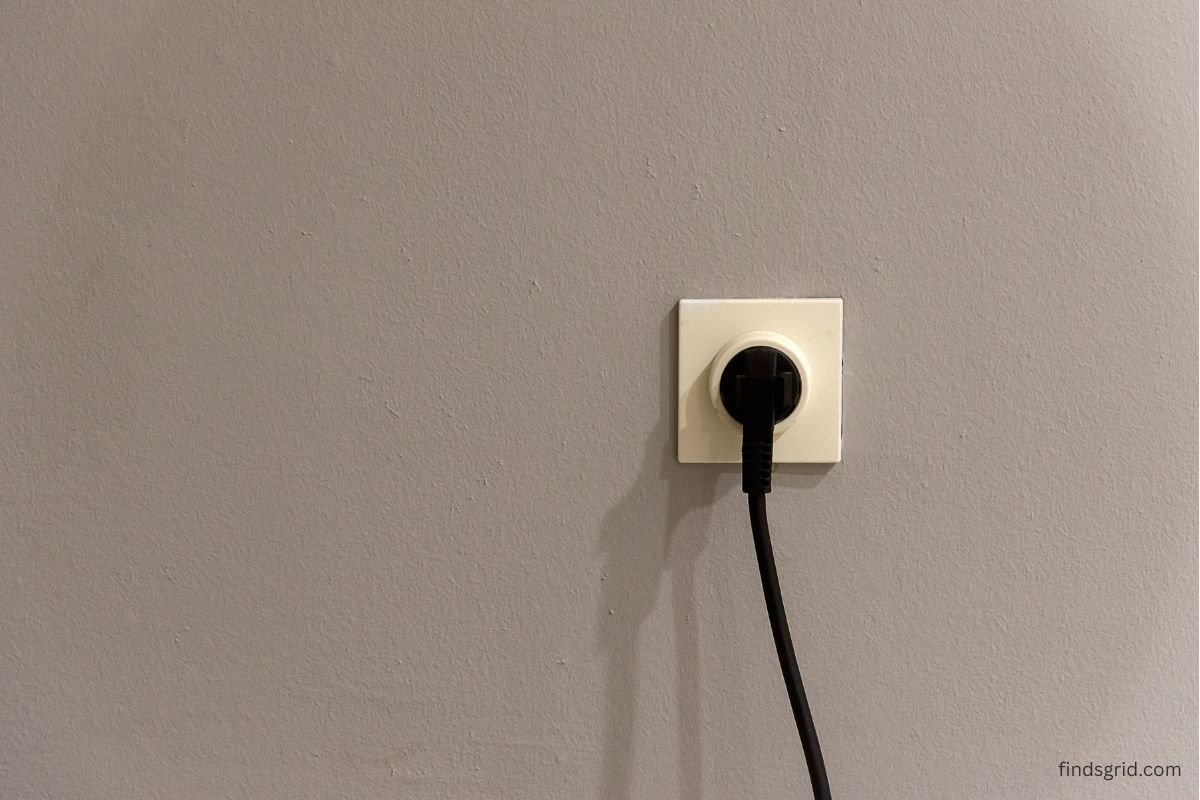
Foam gaskets fit between the cover plate and the wall and slow that flow. They’re thin, and they help, but they’ve got limits. The bigger leak is often the gap between the box and the drywall, plus the cavity itself. Sealing around the box edge, where local code permits, gets better results than a gasket alone.
Safety first: shut off the breaker before you remove any plate. No exceptions.
You can find these leaks without special equipment. On a cold, breezy day, hold a lit incense stick near the plate and watch which way the smoke moves.
Principle 4: Door Sweep Calibration (Stopping Convective Air Exchange at Thresholds)
Here’s a quick physics lesson. Cold air is denser, so it flows in along the floor while warm air escapes higher up. The space under an exterior door is a textbook example. Even an eighth-inch gap, run across the width of a standard door, adds up to a surprising amount of open area.

How well the sweep is adjusted matters more than which kind you buy:
- Look for light. At night, have someone outside shine a flashlight along the bottom edge while you check from inside. Any visible light is an air path.
- Adjust the threshold first. Many thresholds have screws that raise or lower the cap to meet the door bottom.
- Aim for light, even contact. A sweep that’s too loose leaks. One that’s too tight drags, wears out early, and makes the door annoying to close.
- Don’t forget the jambs and head. A tight bottom with a leaky side just moves the problem around.
Wood swells and shrinks with the seasons, so a quick recheck in midwinter isn’t a bad idea.
Principle 5: Silicone and Acrylic Caulk Application for Exterior Trim Gaps
Caulk gets blamed for a lot of failures that were really prep failures. It belongs in joints that don’t move much, like the seam between window trim and siding. It isn’t a fix for operating sashes, which need weatherstripping.
The two common choices behave differently. Acrylic latex, often with silicone added, goes on easily, cleans up with water, and takes paint, which suits most interior trim and plenty of exterior joints. Pure silicone stays flexible through big temperature swings and handles moisture well, but it generally can’t be painted and needs a clean surface to bond.
A few habits separate a good caulk job from one that cracks by spring:
- Pull out the old caulk first. New material won’t bond to failing material.
- Work in dry conditions, and stay inside the manufacturer’s temperature range. Cold, damp surfaces ruin adhesion.
- Use backer rod for wide gaps. Past roughly a quarter inch, push foam backer rod in first and caulk over it. A deep bead of caulk alone shrinks and splits.
- Choose low-expansion foam around window frames. High-expansion foam can bow jambs and make sashes bind.
One warning. Leave weep holes and drainage paths open. They’re there to let water out, and blocking them traps moisture in the wall.
Principle 6: Chimney Damper and Flue Management (Stopping Thermal Chimney Exhaust)
An open flue is the most literal chimney in the house. With the damper open, a masonry fireplace can send a huge volume of heated air straight up and out. It does that most aggressively on the coldest days, when the stack effect is at its strongest.
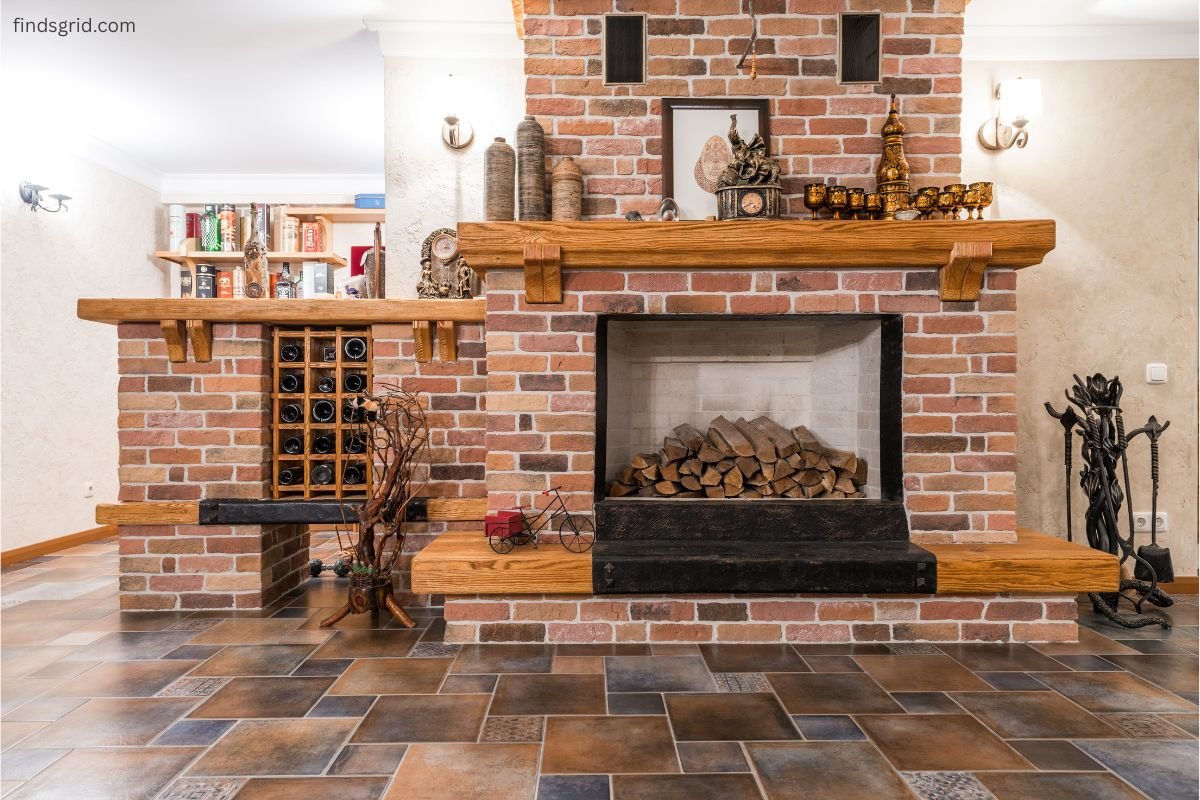
- Close the damper when the fireplace is idle, but only once the fire’s completely out and the ashes are cold. Closing it over live embers can push carbon monoxide into the living space.
- Inspect the damper itself. Older ones warp and rust. If you can see daylight or feel air around a “closed” damper, it’s still leaking.
- Consider a sealing damper for a fireplace you rarely use. Top-mounted and lower-mounted designs seal much better than a standard throat damper.
- Fit a tight glass door or insert if you burn wood regularly, and follow the manufacturer’s guidance on combustion air.
Never block a flue that serves an appliance that’s running. This advice is strictly for fireplaces that are out of use.
Principle 7: Insulating Attic Access Hatches and Pull-Down Stairs
Most people walk right under the leakiest spot in the house without noticing. The attic hatch sits at the very top of the pressure zone, and it’s usually a thin panel of plywood or drywall resting loosely in a frame, with no insulation and no seal. Warm air pushes through the gaps around it and conducts right through the panel.

The fix has three parts:
- Weatherstrip the frame with compressible foam or adhesive-backed gasket so the hatch seals when it closes.
- Insulate the panel with rigid foam board attached to the attic side, aiming to get close to the insulation level of the surrounding attic floor.
- Treat pull-down stairs as a separate job. Use a prefab insulated cover box or build one from rigid foam, and seal the gap between the stair frame and the ceiling opening with caulk or foam.
If you’re building an enclosure, keep the required clearances around any heat-producing fixtures and follow local code on fire-rated materials.
Principle 8: Thermal Curtains vs. Solar Heat Gain (Managing Daytime Window Radiation)
A window is a leak and a heater at the same time. On a sunny winter day, a south-facing window brings in useful free heat. After dark, that same glass radiates warmth out toward the cold night sky and loses more by conduction.
So run your windows on a schedule. Open insulated curtains or shades on sun-facing glass during the day to collect solar gain. Close them at dusk. Closed coverings trap a layer of air against the glass and cut both convective and radiant loss. North-facing windows get no meaningful direct sun in winter, so they can stay covered for longer stretches.
Fit decides how well this works. Curtains that hang short, or leave wide gaps at the sides, let room air circulate behind them and cool off against the glass, which cancels much of the benefit. Floor-length panels, a valance or cornice across the top, and generous side overlap perform noticeably better. Cellular shades with side tracks do the same job in a tighter package.
Principle 9: Baseboard and Rim Joist Sealing in Unfinished Basements
Let’s talk about the rim joist. It’s also called the band joist, and it’s where the floor framing rests on the foundation wall. It’s a notorious leak because it has so many seams: sill plate to foundation, rim board to sill, and every joist bay along the perimeter. Since it sits at the bottom of the building, it’s a main entry point for cold air under the stack effect.
The standard approach:
- Seal the seams between the sill plate and foundation, and between framing members, with caulk or low-expansion foam.
- Cut rigid foam board to fit each joist bay and seal its edges. This adds insulation and creates a continuous air barrier, though local code may call for fire-rated or covered foam, so check first.
- Skip fiberglass batts on their own. Air passes straight through them, and they can hold moisture against the wood.
- Look for moisture and pests before you seal. Covering a damp or damaged sill just hides the problem.
In finished rooms, a thin bead of caulk along the top edge of baseboards on exterior walls cuts down air movement from wall cavities into the space. Sealing the basement perimeter also keeps cold air away from exposed pipes, which ties directly into how you freeze-proof your home during a hard cold snap.
Principle 10: Ductwork Sealing in Unconditioned Spaces to Prevent Heated Air Loss
Heated air that never reaches a room is wasted energy. Plain and simple. Ducts running through attics, crawlspaces, and unheated basements carry warm air through cold territory, and leaky joints let some of it escape along the way. The Department of Energy has noted that a typical duct system can lose a significant share of its airflow to leaks and poor connections, and older systems often do worse.
This is one of the more approachable jobs on the list:
- Seal joints and seams with mastic or UL-listed foil tape. Ordinary cloth duct tape dries out and fails, so it’s the wrong material here.
- Insulate ducts that pass through unconditioned space, which reduces conductive loss through the duct walls.
- Check the connections at registers and the air handler. Leaks tend to cluster there.
- Hunt for disconnected or crushed sections, especially in attics, where ducts get stepped on or shifted.
A bonus: tighter ducts usually improve airflow balance, so the far bedroom finally gets the heat it was supposed to get all along.
Comparison Table: Where Homes Lose Heat and How to Stop It
| Draft Vulnerability Zone | Physical Cause of Heat Loss | Research-Based Sealing Hack | Estimated Thermal Retention Gain |
|---|---|---|---|
| Attic floor and hatch | Stack effect pushes warm air out through top-level gaps | Weatherstrip frame, insulate panel, seal penetrations | High, often among the largest single gains |
| Windows | Sash gaps (convection) plus glass conduction and radiation | Shrink film, caulk trim, thermal curtains closed at night | Moderate to high, depending on window age |
| Exterior doors | Cold air infiltration at thresholds and jambs | Adjust threshold, fit door sweep, replace worn weatherstripping | Moderate |
| Outlets and switches (exterior walls) | Air movement through open wall cavities | Foam gaskets, sealed box edges | Low individually, small cumulative benefit |
| Exterior trim joints | Gaps between trim, siding, and framing | Remove old caulk, use backer rod for wide gaps, recaulk | Low to moderate |
| Fireplace and chimney | Open flue acts as a continuous exhaust path | Close damper when idle, install a sealing damper if needed | Moderate to high for open masonry fireplaces |
| Rim joist and basement sill | Cold air entry at the base of the stack | Foam board in joist bays, sealed seams | High in many homes |
| Ducts in unconditioned space | Leaky joints and uninsulated ducts lose heated air | Mastic or foil tape, duct insulation | Moderate to high where ducts run through attics or crawlspaces |
These gains are relative estimates, not guarantees. Climate, construction, and how leaky the house is to begin with all change the outcome. A blower door test is the only way to put a hard number on it.
Frequently Asked Questions
You’ve got several low-tech options, and they work best on a cold or windy day.
Start with a smoke test. Hold a lit incense stick or smoke pencil near window frames, door edges, outlets, and recessed lights. Smoke that wavers, bends, or gets tugged toward a gap is showing you air movement. Keep it well away from curtains.
A light test works too. In a dark room, have someone shine a flashlight along the edge of a window or door from outside while you watch from inside. Any light you can see marks an air path. A damp hand moved slowly along sashes and frames helps as well, because moisture makes moving air much easier to feel.
Want to make leaks louder? Depressurize the house. Run the bathroom and kitchen exhaust fans, then repeat the smoke test. The fans lower interior pressure and pull more air through every gap. A basic infrared thermometer adds to the picture: a frame or wall section that reads noticeably colder than its surroundings often has a leak or missing insulation behind it.
One caution. If you run exhaust fans, make sure gas furnaces, water heaters, and fireplaces aren’t backdrafting.
Yes, within limits. The Department of Energy lists interior window films and similar seasonal treatments as a reasonable way to cut heat loss through windows, especially single-pane and older double-pane units. The film blocks air leaks around the sash and creates a sealed layer of still air against the glass.
The benefit’s biggest on drafty, older windows and smaller on modern low-e windows that already perform well. When film underperforms, the usual culprit is installation. If the edge seal isn’t complete, the dead-air layer never forms.
It depends on the house, so there isn’t a universal answer. A few patterns do show up again and again. In many homes, uncontrolled air leakage taken as a whole is the largest category, with the attic floor, rim joist, and duct system as the usual worst offenders. The Department of Energy also reports that windows account for roughly a quarter to a third of residential heating and cooling energy use, which makes them a major factor in older houses.
To know for sure, measure. A professional energy audit with a blower door test and infrared imaging shows where your particular house leaks most. Without one, a sensible priority order is the attic first, then the rim joist and basement, then ducts, then doors and windows.
Conclusion
A warm house comes down to control, not thermostat settings. The stack effect, convection through gaps, and conduction through thin surfaces all work against a home in cold weather, and each one has a plain countermeasure.
If you want to draft proof your house the smart way, work from the top down. Close the attic hatch and penetrations first, then the rim joist, then the ducts, before you spend time on smaller details. After that, add the finishing layers: weatherstripping, caulk, window film, and curtains that open and close on a schedule. None of it takes special skills. Do it before the first hard freeze, and the house will hold its heat better all season while using less energy to do it.
Safety note: A tighter house has less natural ventilation. If you have gas or oil appliances, a wood stove, or a fireplace, make sure you have working smoke alarms and carbon monoxide alarms, never block a flue or vent that serves a running appliance, and have your heating system checked by a professional. If your home was built before 1978, old paint and caulk may contain lead, so use lead-safe practices or hire a certified professional before scraping or sanding. When working in an attic, step only on joists and wear a dust mask, gloves, and eye protection. This guide is general information, not professional advice; follow local building codes and manufacturer instructions.
Sources: Energy-saving figures in this guide are consistent with guidance from the U.S. Department of Energy and ENERGY STAR.