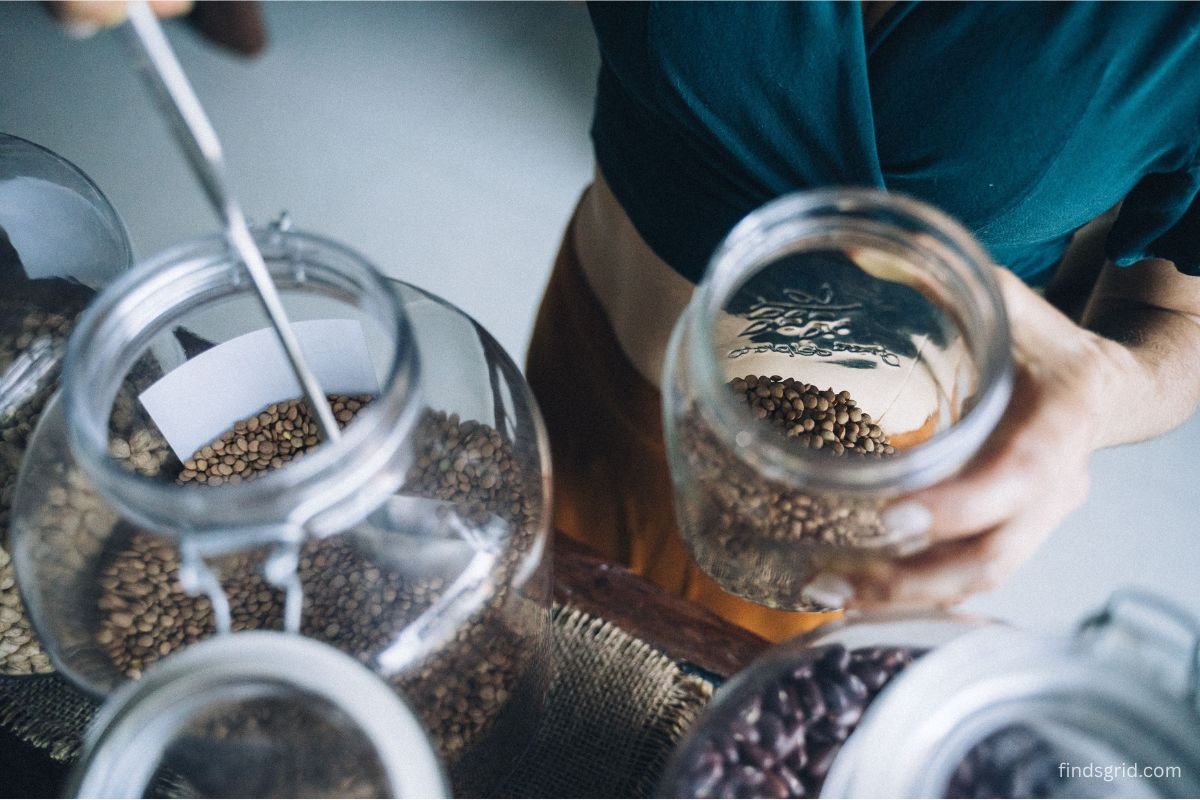
Wondering how to store vegetable seeds long term without watching germination rates slip? Start with biology. A seed isn’t dead. It isn’t really asleep, either. It’s a living embryo sitting in a kind of metabolic standby, still breathing at a trickle and slowly spending a limited stash of lipids, starches, and proteins. Heat and moisture open that trickle into a flood. Once humidity climbs and temperatures follow, respiration speeds up, membranes start to break down, and the embryo’s fuel runs low before the seed ever meets soil. Germination rates don’t crash overnight. They slip a little each season, and you only notice when the seedlings don’t show. The ten principles below come straight from seed science, and each one blocks a specific way seeds lose their spark.
Quick Answer
Storing vegetable and fruit seeds for multi-year viability means keeping Harrington’s Rule in check, so the sum of temperature in Fahrenheit and relative humidity percentage stays under 100. Drying seeds to an internal moisture content of roughly 8-10% or lower with food-safe silica desiccant packs, then sealing them in airtight glass jars, prevents mold growth and cell damage. Freezing fully dried seeds in vapor-proof containers slows cellular metabolism to a crawl and can extend viability past a decade in many species.
1. Harrington’s Rule: The Foundation of Ideal Temperature and Humidity for Seed Storage
Seed physiologist James Harrington boiled decades of storage data down to two rules of thumb. First, every 1% drop in seed moisture content (roughly within the 5-14% range) about doubles storage life. Second, every 10°F drop in storage temperature (roughly within 32-122°F) doubles it again. Simple, and surprisingly powerful.
Home growers usually lean on the shortcut version: temperature in °F plus relative humidity % should stay under 100.
Here’s how that math plays out:
- A kitchen at 75°F and 60% humidity scores 135. Bad news for seeds.
- A refrigerator at 40°F and 35% humidity scores 75. Solid.
- A freezer at 0°F holding dry, sealed seeds lands well below 50. Excellent.
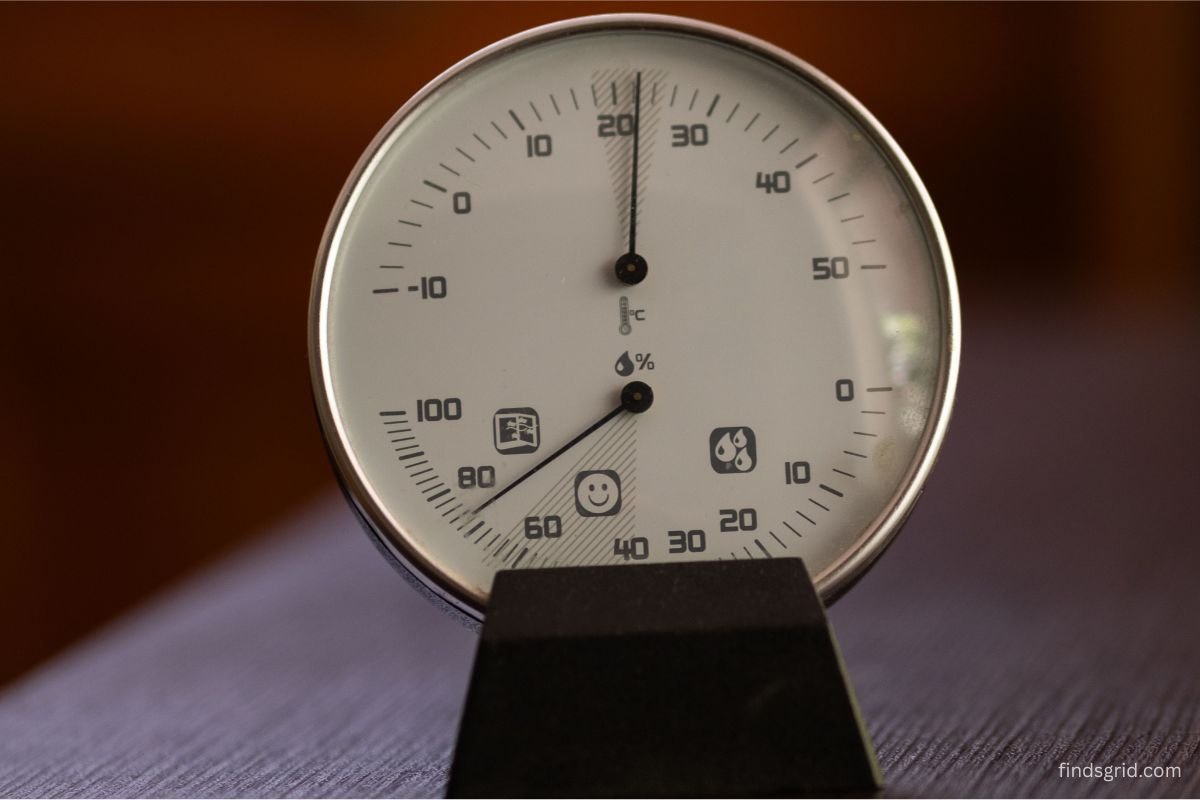
Look at it this way: 100 is the ceiling, not the target. Lower is always better. Every principle after this one builds on it.
2. Optimal Seed Moisture Thresholds: Preventing Ice Crystal Damage and Fungal Growth
Storage quality starts before the seeds ever reach a jar. Seeds should be harvested fully mature and dried before a hard freeze hits the garden. If an early cold snap threatens late-season plants that are still ripening seed, these tips to protect plants from first frost can buy you a few extra weeks.
Once the seeds are in hand, the water inside them matters more than the humidity of the room around them. Trouble shows up on both sides of the sweet spot.
Too wet: Once internal moisture climbs above roughly 10-12%, storage fungi like Aspergillus and Penicillium can take hold, even at mild temperatures. Metabolism also stays revved up, so reserves burn faster.
Wet and frozen: Freeze seeds that hold too much water and free water inside the cells can form ice crystals. Those crystals puncture membranes. The seed looks perfectly fine, then never germinates.
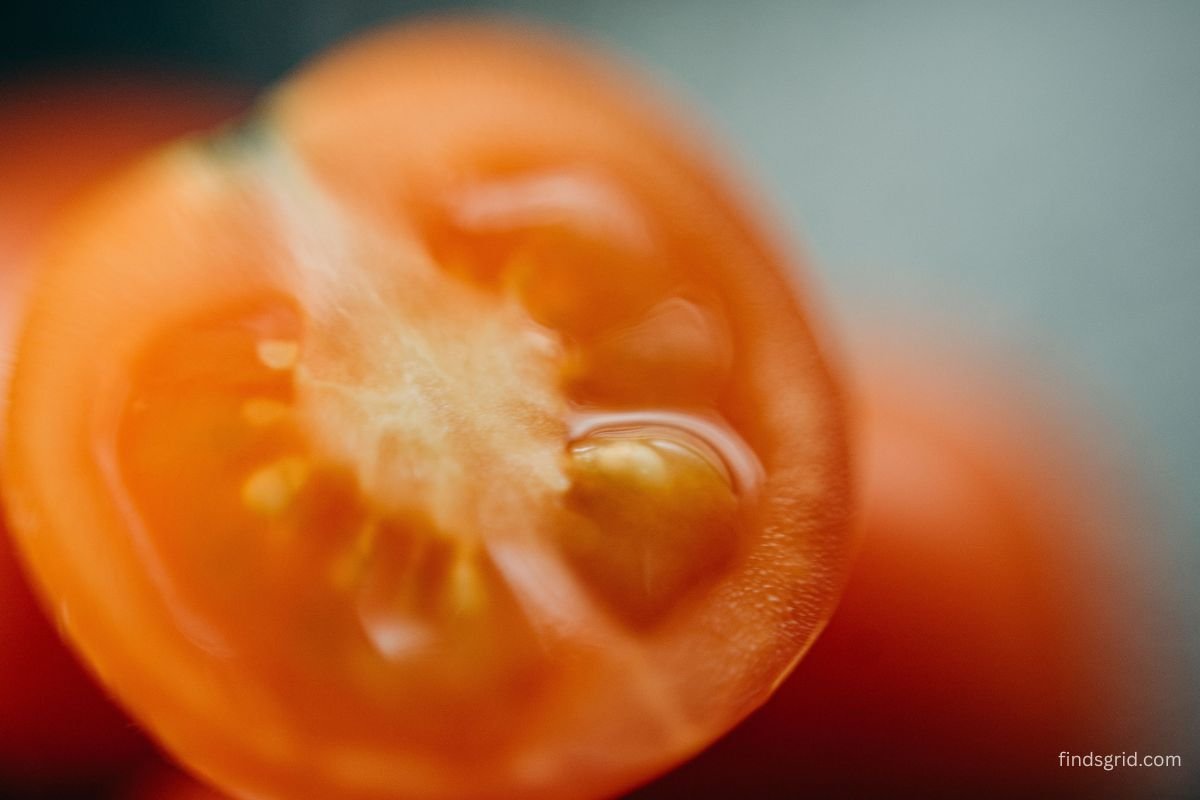
For most orthodox (dry-storable) vegetable seeds, aim for 8% or lower. Many seed banks go further, targeting 3-7% for long-term conservation. A handy field clue: seeds dry enough for storage tend to snap or shatter rather than bend. One caveat. A few species, including citrus, avocado, and mango, produce “recalcitrant” seeds that can’t tolerate drying at all, so the drying advice in this guide doesn’t apply to them. Principle 6 touches on citrus.
3. Silica Gel Desiccant Ratios: Dehumidifying Seeds Before Sealing
Air-drying only gets you so far in a humid climate. That’s where desiccant silica gel for storing garden seeds earns its keep.
Silica gel is a porous form of silicon dioxide, and it adsorbs water vapor onto its internal surfaces. A commonly cited starting point is roughly equal weight of silica gel to seeds. Smaller batches can get by with somewhat less, and humid regions call for more. Here’s a workable routine:
- Put dry silica gel in a small breathable pouch (a coffee filter or paper packet works) so it never touches the seeds.
- Seal the pouch and the seeds together in a jar for about 5 to 7 days.
- Watch the indicator beads, if you’re using them. A color change means they’re saturated.
- Pull out the desiccant, then move the dried seeds into their final container.
Silica gel isn’t single-use. Saturated beads can be dried in a low oven, but follow the manufacturer’s temperature guidance and don’t dry them on cookware you use for food. Stick with food-safe, non-toxic types, and skip the cobalt-chloride indicator varieties anywhere near edibles. Silica gel packets are labeled “do not eat,” so keep them away from children and pets.
4. Mylar vs. Mason Jars vs. Envelopes: Moisture Vapor Transmission Rate (MVTR)
Every container leaks water vapor. Some leak a lot. The measure is called moisture vapor transmission rate, or MVTR, and it swings wildly from one material to the next.
| Container | Relative Vapor Barrier | Notes |
|---|---|---|
| Paper envelope | Very poor | Breathes freely; tracks room humidity |
| Standard zip-top plastic bag | Poor to moderate | Polyethylene still passes vapor over months |
| Glass jar with a good gasket | Excellent | Glass itself is impermeable; the seal is the weak point |
| Foil/Mylar pouch (heat-sealed) | Excellent | Near-zero MVTR when thick and well sealed |
The takeaway? Paper envelopes work fine for organizing seeds inside a sealed outer container. They’re not a barrier. For real protection, pair dried seeds with a vapor-proof container.
5. Sub-Zero Preservation Mechanics: How Freezing Slows Embryonic Respiration
Cold works through plain chemistry. Reaction rates drop as temperature falls, and that includes the enzymatic reactions behind respiration. At freezer temperatures, dry seeds tick along so slowly that their energy reserves last dramatically longer.
Here’s the catch, though. The whole benefit hinges on dryness. Dry seeds in a sealed, vapor-proof container handle 0°F beautifully, which is why seed banks worldwide store orthodox seeds at around 0°F (-18°C). Damp seeds? They run straight into the ice damage described in Principle 2.
6. Cold Stratification Protocols: A Saving Fruit Seeds Viability Guide (DIY)
This one trips up a lot of growers, so let’s clear it up. Cold stratification isn’t long-term storage. It’s a pre-germination treatment that mimics winter to break dormancy. Knowing the difference is central to any saving fruit seeds viability guide DIY.
Apple, pear, and other Rosaceae seeds: Clean every bit of flesh off first. Fruit pulp holds germination inhibitors and invites mold. Dry the seeds for storage, then stratify only when planting season gets close. Stratification usually means holding seeds in barely damp (not wet) medium at around 33-41°F for several weeks to a few months, depending on the species.
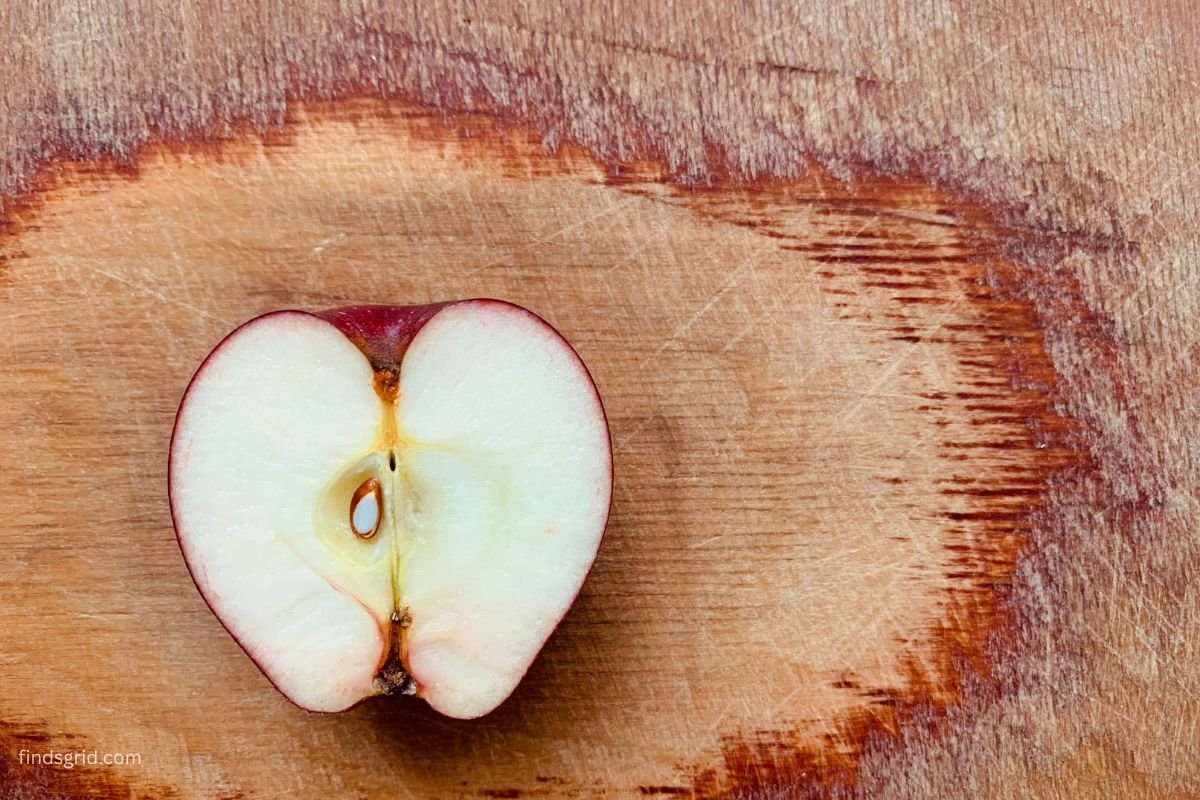
Berry seeds: Most need cleaning, drying, and a similar cold-moist spell before sowing. Store them dry beforehand.
Citrus seeds: A special case. They’re sensitive to desiccation and lose viability fast once dried. Plant them fresh, or keep them slightly moist in a sealed container in the refrigerator for short periods.
The rule of thumb is easy to remember. Store dry for the long haul (where the species allows it), then stratify right before sowing.
7. Oxygen Displacement: Minimizing Oxidative Stress on Seed Oils
Oil-rich seeds, including many in the squash and cucumber families, are prone to lipid oxidation. Oxygen attacks unsaturated fats and throws off free radicals that damage membranes and proteins. It’s the same chemistry that turns cooking oil rancid, only slower.
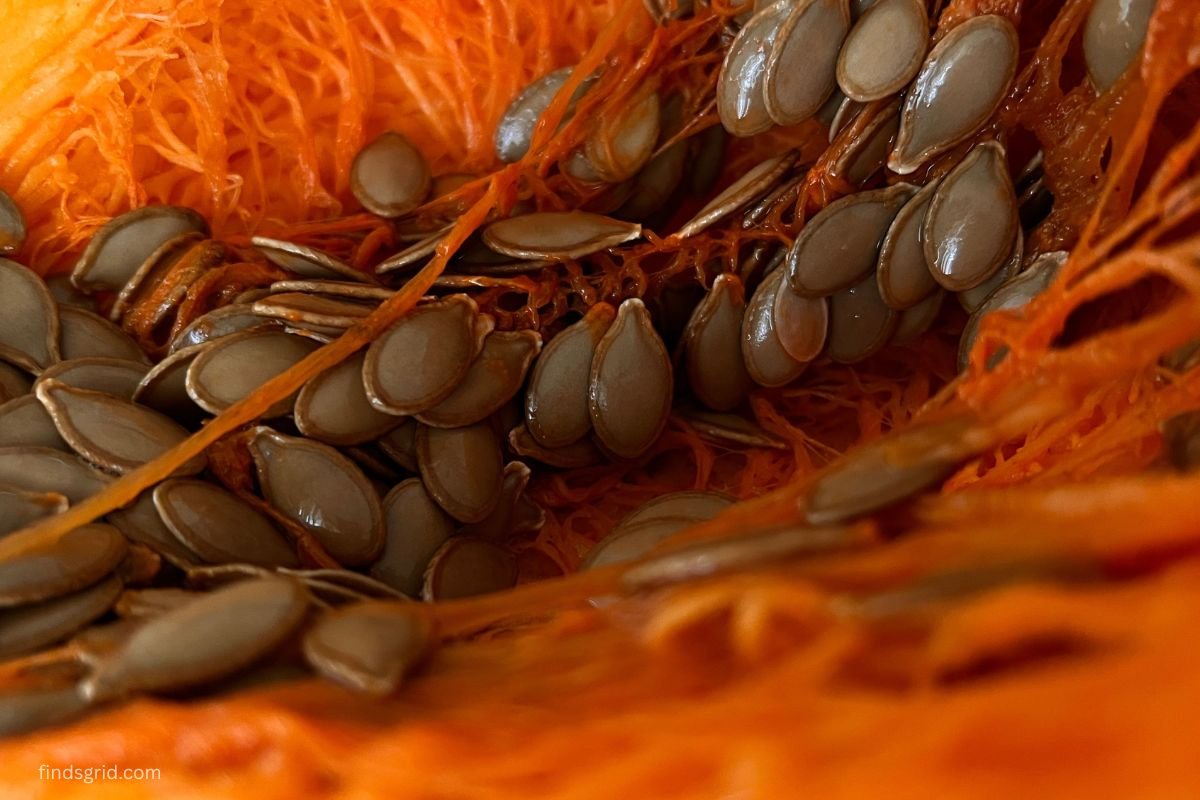
Two ways to cut oxygen exposure:
- Fill containers completely. Less headspace means less oxygen. Top off a half-empty jar with crumpled paper or tuck in a smaller container.
- Some seed savers add oxygen absorber packets to Mylar bags or sealed jars, but only with very dry seeds, since seeds that are too moist can be harmed in a low-oxygen container. Absorbers are optional. Keep the packets away from children and pets and don’t open them.
One more thing. Oxygen control backs up dryness. It can’t replace it.
8. Dark Storage: Protecting Seeds From Light-Driven Degradation
Light, especially UV, can degrade seed coats and compounds inside the embryo. Sunny windowsills add heat on top of that, and temperature swings can push a container’s real temperature far above what the thermostat claims.
Go with opaque containers, or park seeds in a dark cabinet or freezer. Foil pouches block vapor and light in a single step. Clear glass jars are fine too, as long as they live inside a box or drawer.
9. Thermal Equilibrium Thawing: Preventing Condensation Shock
Easy to overlook. Capable of wrecking months of careful work. Carry a cold container into a warm room and pop it open right away, and warm humid air slams into cold surfaces. Water condenses on the seeds themselves.
The fix? Patience. Let sealed containers warm all the way up to room temperature. That’s typically several hours for a jar and longer for a big batch. Open only when the glass or foil feels the same as the room around it. Then reseal quickly, adding fresh desiccant if the seeds are headed back into cold storage.
Even better, split seeds into small portions before freezing. One packet can come out without disturbing the rest.
10. Germination Testing: Calculating Seed Lot Viability Annually
Storage conditions are theory. A germination test is proof. Here’s the standard home method:
- Count out 10 seeds (20 or more gives a more reliable picture).
- Lay them on a damp paper towel, fold it over, and slide it into a loosely closed bag or container.
- Keep it warm, around 70-80°F for warm-season vegetables like tomatoes and peppers (cool-season crops such as lettuce and spinach prefer cooler conditions, closer to 60-70°F), and check daily.
- Once the typical germination window closes, count the sprouts.
Viability % = (germinated seeds ÷ seeds tested) × 100
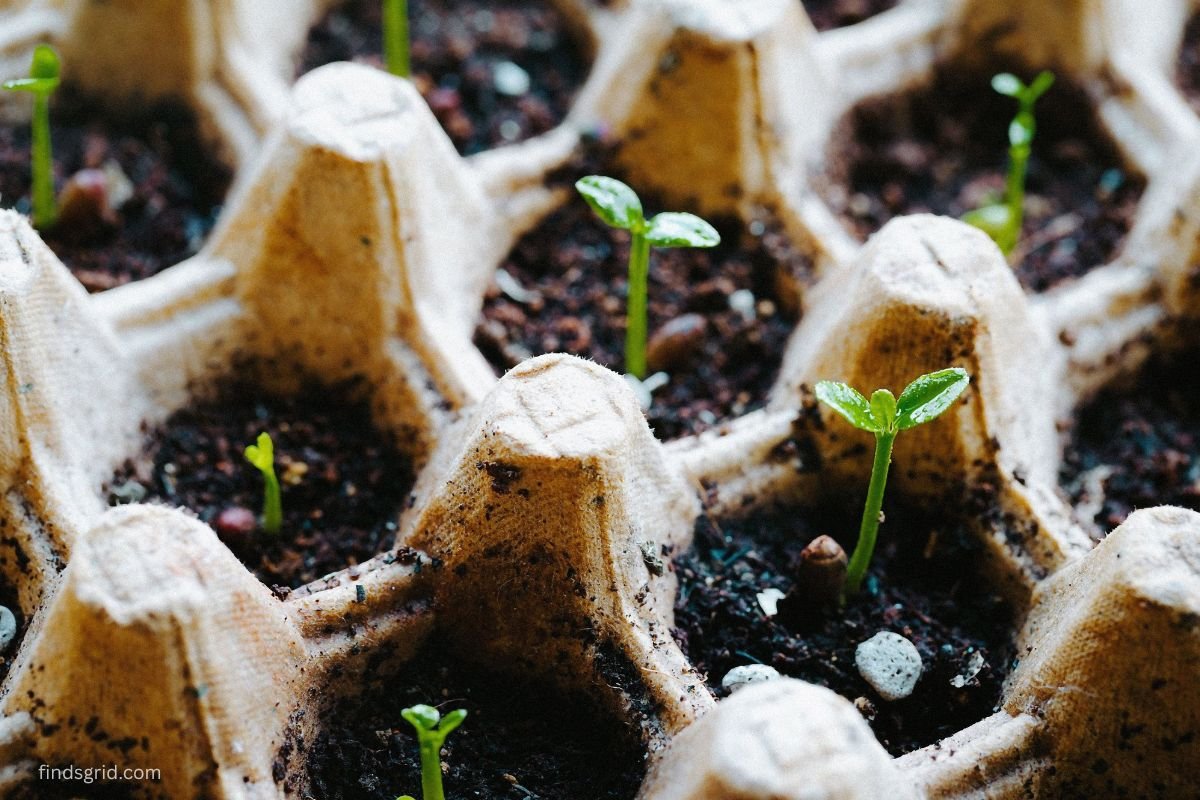
If 8 of 10 sprout, that lot sits at 80%. Test once a year and you’ll see the decline coming, which tells you when to sow thicker or refresh your stock. Many growers treat roughly 60-70% as the point where sowing density needs adjusting, though the right threshold varies by crop.
Storage Comparison by Plant Family
| Seed Type | Ideal Storage Moisture / Temp | Science-Backed Storage Method | Average Viability Duration (Years) |
|---|---|---|---|
| Solanaceae (tomato, pepper, eggplant) | ≤8% moisture; 35-40°F, or 0°F for longer storage | Desiccant drying, then sealed glass or Mylar, kept dark | Tomato: up to about 10 years refrigerated; pepper and eggplant: often 3-5 years; longer if frozen dry |
| Cucurbitaceae (cucumber, squash, melon) | ≤8% moisture; 35-40°F, or 0°F for longer storage | Desiccant drying, oxygen displacement for oil-rich seeds | About 4-8 years refrigerated; longer if frozen dry |
| Rosaceae (apple, pear, many berries) | ≤8% moisture for dry storage; 33-41°F | Clean, dry, and seal; stratify shortly before sowing | About 2-5 refrigerated (varies widely); longer if frozen dry |
These are general ranges. Species, seed quality at harvest, and handling all shift the numbers, and citrus and other recalcitrant seeds don’t follow this table.
FAQ
Yes, as long as they’re dry first. Orthodox vegetable seeds dried to around 8% moisture or below and sealed in a vapor-proof container handle freezing well. It’s the standard method at conservation seed banks. The cold isn’t the danger. The water inside the seed is. Skip the drying step and ice crystals can rupture the cells.
Standard plastic bags only partly block vapor, so humidity inside slowly matches the air outside over a period of months. In a cool, dry spot, that can be good enough for a season or two. For multi-year storage, though, tightly sealed glass jars or heat-sealed foil pouches hold dryness far better. Bags also puncture and crack more easily in the freezer.
Run a germination test. Set a small sample on a damp paper towel and watch for roots. With fruit seeds like apple, finish the cold-moist period first, because unstratified seeds can fail to sprout even when they’re perfectly alive. A cut test works as a rough backup. Slice a seed open: a firm, white, plump embryo is a good sign, while shriveled or discolored tissue isn’t.
Conclusion
Knowing how to store vegetable seeds long term comes down to three levers: water, temperature, and air. Keep Harrington’s sum under 100. Dry seeds to roughly 8% moisture or lower. Seal them in containers that truly block vapor and oxygen. Add darkness, thaw with care, and test germination every year. Stick with that routine and the seeds from your garden and orchard can stay viable for many years, ready to grow whenever you are.
Safety note: Some store-bought seeds are coated or treated with fungicides, so check the packet, keep them away from children and pets, and don’t mix them with seeds you plan to eat. Seeds saved from hybrid (F1) plants often don’t grow true to type. Storage times in this guide are general ranges that vary by species and seed quality.
Sources: The freezer and moisture targets mentioned here are consistent with the FAO’s genebank standards for conserving seeds, and Harrington’s rules of thumb are widely cited in university extension materials on seed storage.