This post contains affiliate links. We may earn a commission if you purchase through them, at no extra cost to you.
Knowing how to store camping gear properly is the difference between a clean tent in April and one that smells like a wet basement. Most of us find that out the hard way. You unzip the tent bag for the first trip of spring and the mildew smell hits you before you even see the fabric. Then your headlamp won’t turn on, because the battery leaked and left white crust all over the contacts. Maybe your rain shell has a coating that’s started peeling off the inside like a bad sunburn.
None of that happens on the trail. It happens on a closet shelf over a few quiet months, while you’re not thinking about gear at all. A weekend of decent prep fixes almost all of it.
Quick Answer: How to Store Camping Gear for the Off-Season
Clean every item, dry it completely, and keep fabrics loose instead of compressed. Take the batteries out of anything you won’t use for a month or longer. Then store it all somewhere cool, dry, and out of direct sunlight.
Dump It All Out First
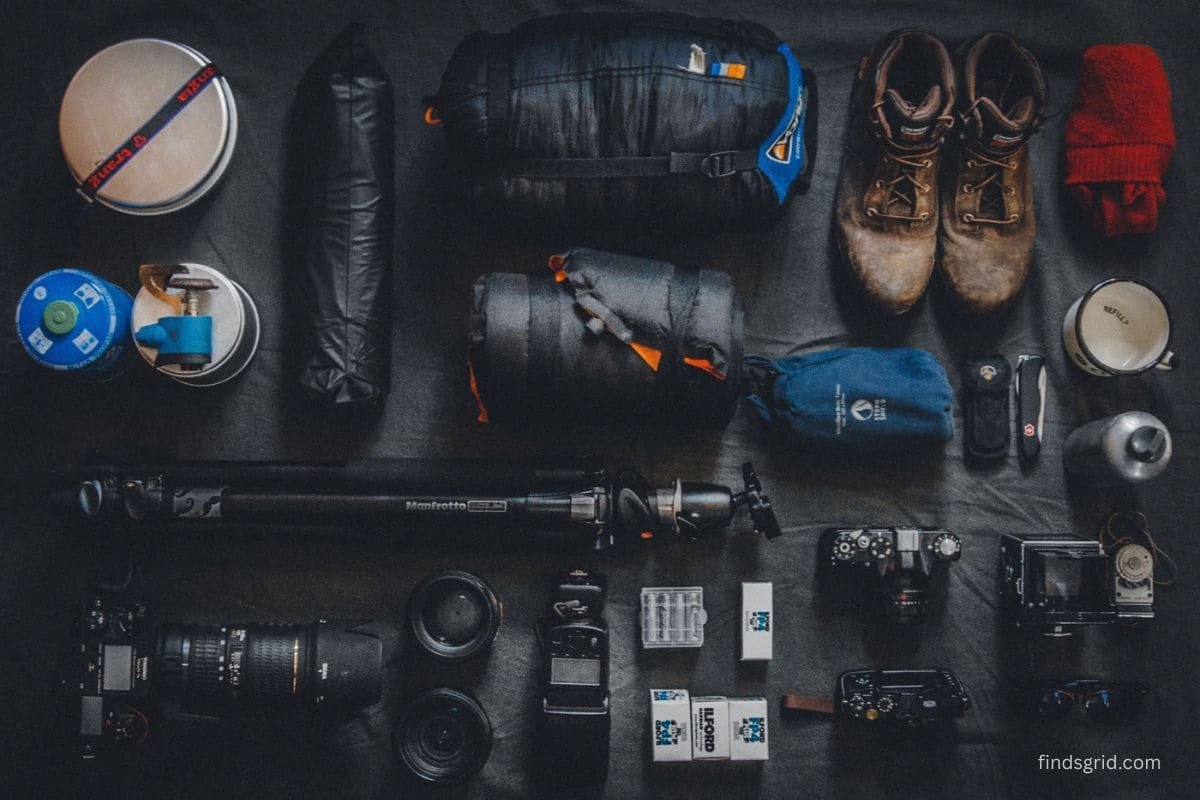
Before you clean anything, pull every piece of gear out and spread it on the garage floor. It looks like a disaster, but this is where you catch problems early: a bent pole section, lifting seam tape, a zipper that’s gone stiff, a battery that looks puffy.
Sort it into three piles: fine as is, needs cleaning, and needs fixing or replacing. Then make a quick repair list and tape it inside a bin lid so you can’t ignore it come spring. I used to skip this step, and I paid for it every year when I’d find a snapped pole the week before a trip.
How to Store a Tent and Sleeping Bag Without Mold
People blame mold, but moisture does the real damage. Mold just shows up afterward. Most tent floors and seam tape have a polyurethane coating, and when it sits damp for months it breaks down chemically. The term is hydrolysis. You’ll recognize it by the sticky, tacky feel, and once it starts, you can’t undo it.
After your last trip, pitch the tent in the yard and let it air out completely. Wipe off dirt and sap with a soft sponge and plain water. Skip the soap, since it can strip the waterproofing. Leave the vents open and the rainfly flipped over, in the shade. Direct sun is hard on nylon and polyester.
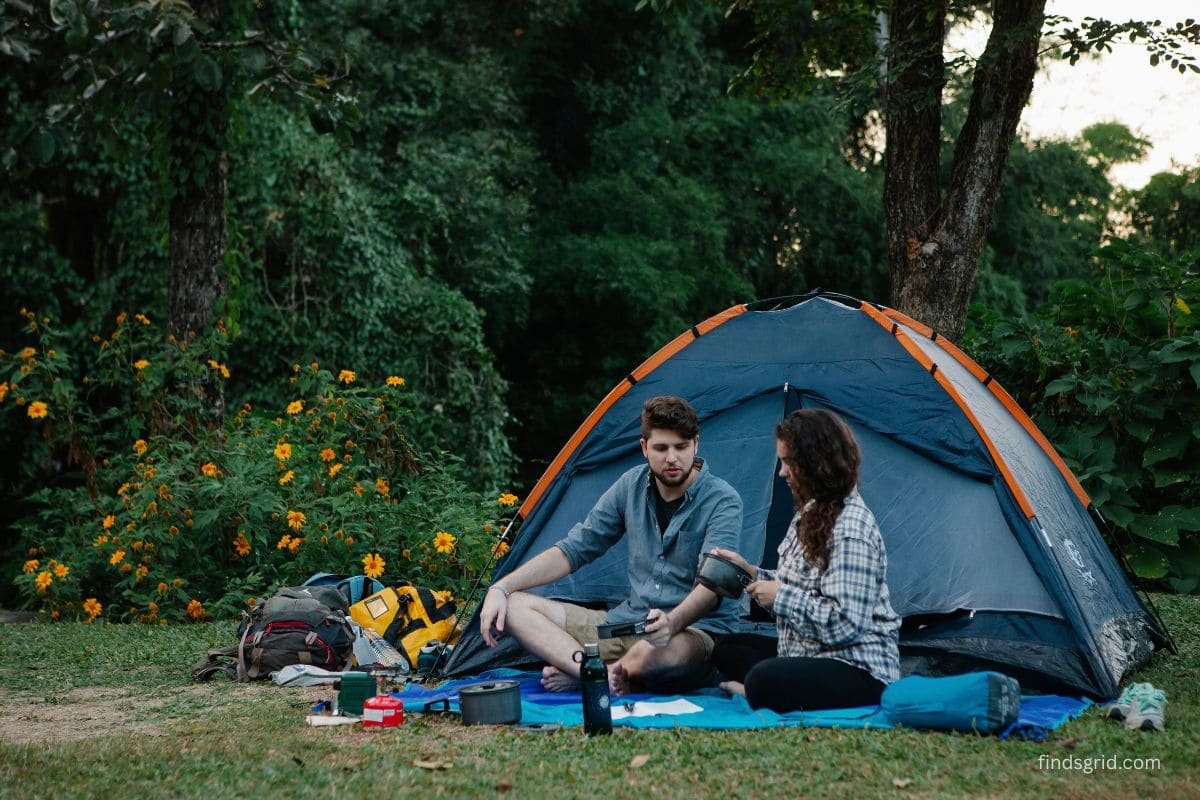
Now the stuff sack. It’s built for carrying, not for storing. Months of tight compression put the same creases in the fabric, and those creases are exactly where coatings crack. A big cotton bag or even a clean pillowcase works fine for loose storage.
Sleeping bags follow the same logic, and this is the biggest piece of preventing mold on a stored tent or sleeping bag. Wash the bag only when it really needs it, following the care label. Down dries well on low heat with a couple of clean tennis balls in the dryer. Once it’s fully dry, hang it in a closet or use the large mesh sack it came with. Leaving it squished in the compression sack all winter kills the loft, and loft is what keeps you warm.
Water Filters: Don’t Let the Membrane Ruin Itself
This is the one that worries me most, because you can’t see the damage. Most backcountry filters use hollow-fiber membranes, which are basically thousands of tiny straws. Store one damp and bacteria or mold can grow inside. Let it freeze while wet and the ice can crack the fibers. The filter still looks and flows normally, but it’s no longer catching what it should.
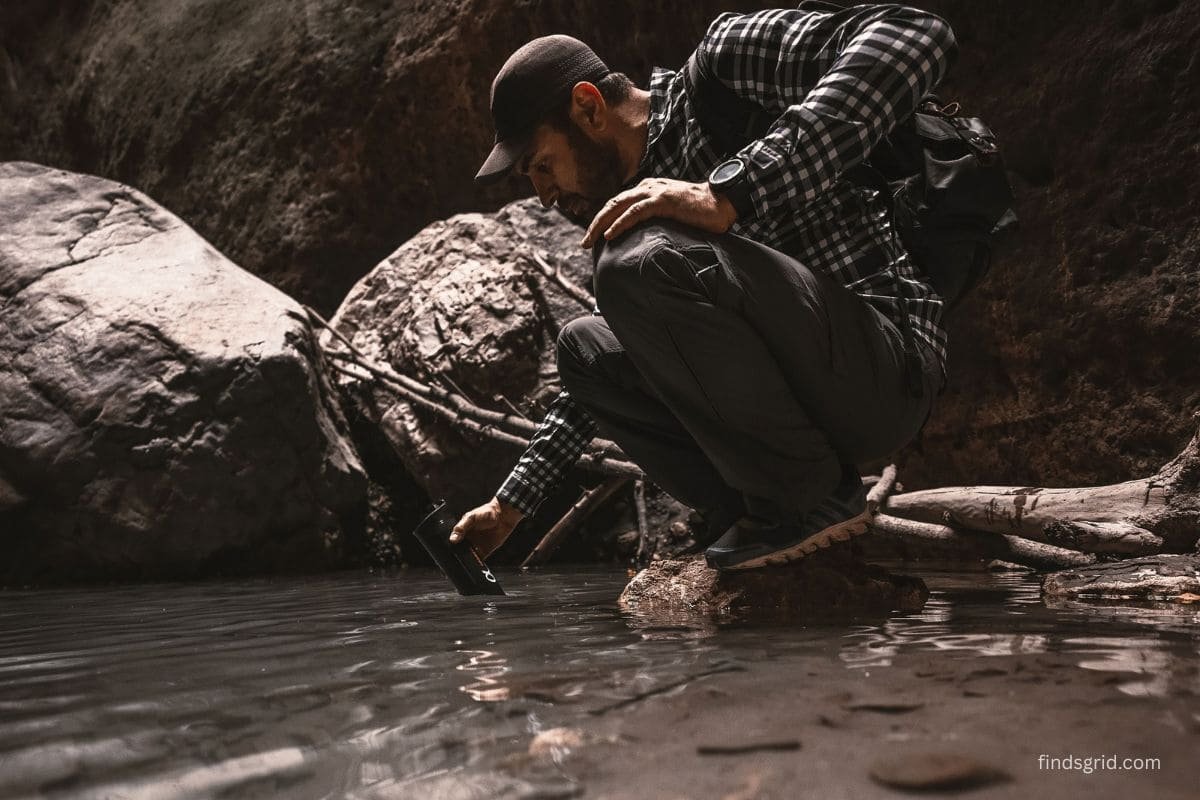
Backflush it with clean water, following the manufacturer’s instructions, until the water runs clear. Shake out the excess and let it dry for a few days with air moving around it. Don’t seal it in a bag until you’re sure it’s dry. Then keep it indoors where it never hits freezing, so a truck bed or cold shed is out.
If you use personal micro-filters on backcountry trails, check out our full LifeStraw Water Filter Review for deep-cleaning instructions before dry storage.
Batteries and Electronics: Stop the Leaks and Slow Drain
If a device will sit for a month or more, take the batteries out. It’s the easiest rule in this whole guide, and I still forget sometimes.
Alkaline batteries can leak potassium hydroxide as they run down, and it eats metal contacts. If you find white crust, a cotton swab with a little white vinegar usually cleans it up. Let it dry fully before putting anything back in.
Lithium-ion is trickier. These cells slowly lose charge on their own, and if one drops to zero it may never charge again. Sitting full for months isn’t good for them either. For rechargeable battery maintenance on outdoor gadgets, aim for about half charge, keep them indoors at room temperature, and top them off every couple of months. A hot car or a freezing garage is the worst place for them.
Cold-weather gear gets forgotten once spring arrives. Give rechargeable hand warmers a partial charge and a wipe-down before storage, and for rechargeable heating units like hand warmers, read our AI Hand Warmers Review on battery cycle preservation.
Summer gadgets need the same care, even though you’ll store them in winter. Sweat, sunscreen, and dust build up on them. Wearable personal fans also require clean storage; see our Heelkl Wearable Belt Fan Review for battery winterization tips.
Drop a silica gel packet into each electronics bin to fight moisture. You can dry the packets out in a low oven and reuse them.
Trekking Poles, Tripods, and Zippers
Metal seems tough, so people skip it. But grit inside a twist-lock grinds away a little every time you tighten it, and water trapped in aluminum joints can corrode them until they won’t budge.
Take your trekking poles fully apart, rinse off the mud, wipe everything dry, and clean out the locks with an old toothbrush. Store them loosely extended rather than locked tight.
For tripods, clear sand from each leg section, wipe the joints, and put a little suitable lubricant on the threads and hinges. Delicate gear like compact tripods needs joint lubrication; check our K&F Concept Travel Tripod Review for field care.
Don’t forget your zippers either. A quick toothbrush scrub and a touch of zipper lubricant now beats fighting a stuck zipper in the rain.
Trail Gear Organization: A Garage or Basement Setup That Works
Even clean gear goes bad in a bad spot. If you’re planning a trail gear organization setup for a garage or basement, a few things matter most:
- Get it off the concrete. Concrete pulls moisture upward, so use shelves or wall hooks.
- Match the container to the material. Plastic bins are fine for hard gear, but fabric wants cotton or mesh so it can breathe.
- Control humidity. In a damp basement, run a dehumidifier and aim for relative humidity below about 50 percent.
- Block the light. UV weakens fabric slowly, so use opaque bins or a closed closet.
- Label by category. Shelter, sleep, kitchen, water, electronics. Spring packing shouldn’t turn into a scavenger hunt.
Short on space? Keep tents, bags, filters, and batteries inside the house, and let stakes and cookware live in the garage. That’s the simplest way to store camping gear when room is tight.
Off-Season Storage Cheat Sheet
| Gear Category | Common Storage Mistake | Proper Storage Method | Recommended Location |
|---|---|---|---|
| Tents | Packed away damp in the stuff sack | Air dry fully, store loose in a breathable bag | Closet or climate-controlled shelf |
| Sleeping bags | Left compressed for months | Hang or store loose in a large cotton or mesh sack | Bedroom closet or hanging rack |
| Water filters | Stored damp or allowed to freeze | Backflush, air dry completely, keep above freezing | Indoor cabinet or drawer |
| Alkaline-battery gear | Batteries left inside | Remove batteries, clean contacts | Indoor drawer or bin |
| Rechargeable gadgets | Stored dead or full in extreme temperatures | Keep at about half charge, top up every few months | Room-temperature indoor shelf |
| Poles and tripods | Locked tight with grit inside | Clean, dry, lightly lubricate, store loosely extended | Dry garage rack or closet |
FAQ: Storing Camping and Hiking Gear
Some of it, yes. Cookware, stakes, and hard coolers handle it fine. I’d keep sleeping bags, tents, filters, and batteries inside. Temperature swings cause condensation, which leads to mildew, and freezing can damage filters and drain batteries faster. If the garage is your only option, use sealed bins with moisture absorbers.
Don’t wait, because it only gets worse. Brush off dry spores outside, then wash with a gear-safe cleaner following the care label. A diluted white vinegar soak can help with odor on some synthetics. Dry it fully in open air. Avoid bleach, which can ruin waterproof coatings. If the mildew has eaten into the fabric, you probably can’t reverse it.
No. Lithium-ion cells age faster at full charge and can be damaged if they drain to zero. Around 40 to 60 percent is a good target. Check them every couple of months and keep them indoors.
Every six to eight weeks. Open the bins, smell for mustiness, feel for dampness, and top up the batteries. It takes about ten minutes.
Ready When the Trail Calls
Nobody brags about cleaning a filter or scraping corrosion out of a headlamp. But a weekend of prep now means your tent smells like the outdoors in spring, your headlamp works on the first click, and your filter runs clean. Then the first nice Saturday shows up and all you have to do is grab your pack. That’s really all there is to how to store camping gear the right way.