This post contains affiliate links. We may earn a commission if you purchase through them, at no extra cost to you.
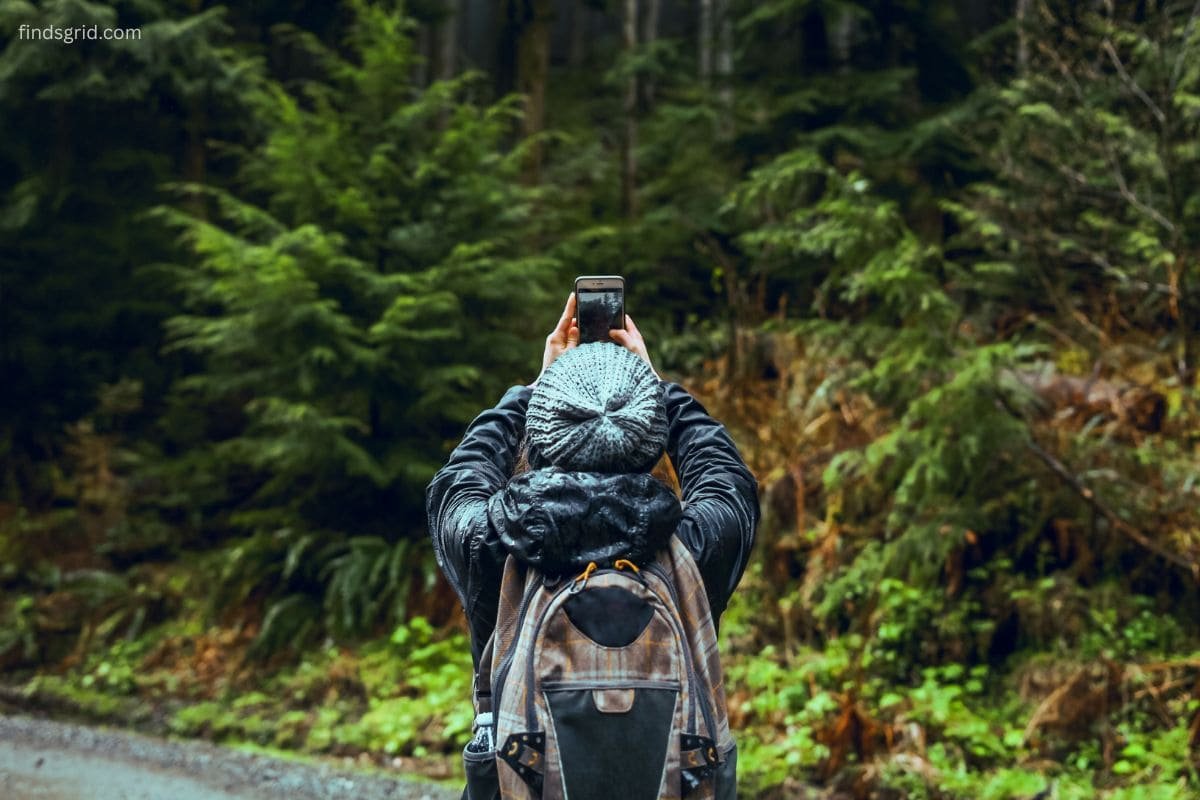
Smartphone nature photography tips are what I wish someone had handed me the day I spent ten minutes crouched beside a creek, trying to photograph an orange fungus growing out of a rotten log. Every shot came out either dark or smeared. A guy walking by with a trekking pole asked if I’d lost something. Sort of, I said. My dignity.
Here’s what I figured out later. The phone was fine. My habits were the problem. I rushed, I shot into the light, and I held the phone like I was reading a menu. Fixing that took no fancy gear. This guide is how I shoot now, organized by the situations that actually trip people up on the trail.
The short version: Good smartphone nature photography needs soft, indirect light, a steady hold or a mount, and pocket optics when you want real macro detail. Geotag and label each photo before you walk on, so every find stays tied to a place. That’s the whole game. The rest of this guide is just how to pull it off.
First, Fifteen Minutes at Home
Most trail photo disasters get decided before you leave the driveway. Clean your lens with a microfiber cloth. Fingerprint grease is behind more hazy shots than anything else I’ve seen. Check your storage, because nothing hurts like a “storage full” message next to a rare bird. Switch on location tagging in your camera settings while you’re at it.
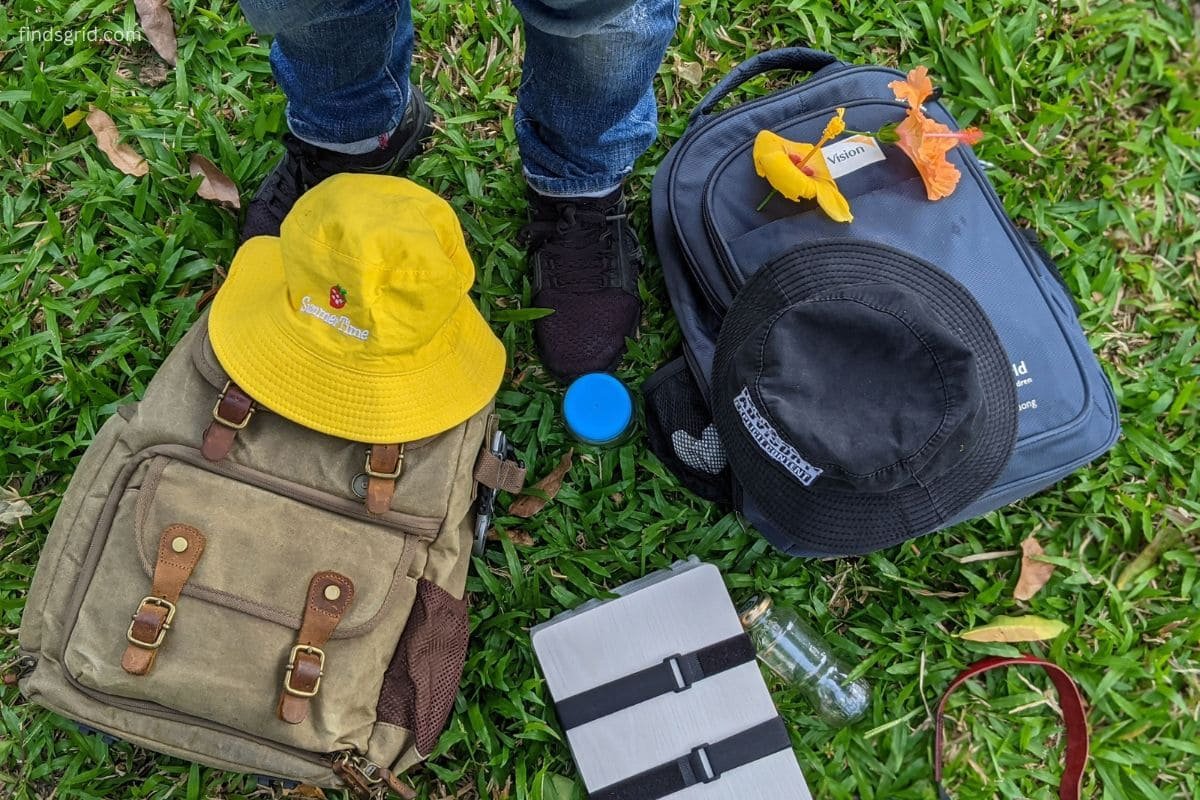
This is also when I do my outdoor mobile camera accessories field prep. I decide what’s coming along: a mount, a wrist strap, a clip-on macro lens, a cloth. Choosing at the trailhead with the sun dropping is how gear gets forgotten. I keep a small zip pouch packed for exactly this, and it lives in my daypack year-round.
Smartphone Nature Photography Tips for Terrible Light
Midday sun is the usual culprit. Overhead light makes blown-out highlights and black shadows in the same frame, and a phone sensor can’t handle both. You get a washed-out leaf or a hole where the detail should be.
Look for shade first. A tree line, a boulder, a cloudy sky, any of them works. No shade? Make some with your hat, your jacket, or your own body. I also carry a folded sheet of white paper, and yes, it feels silly. Bounced onto a shadowed flower, it fills in the dark side surprisingly well.
Shiny stuff is its own headache. Wet rock, waxy leaves, and beetle shells throw glare back at the lens. Slide a few inches to one side and the reflection often just disappears. A clip-on polarizing filter helps a little, but angle does most of the work.
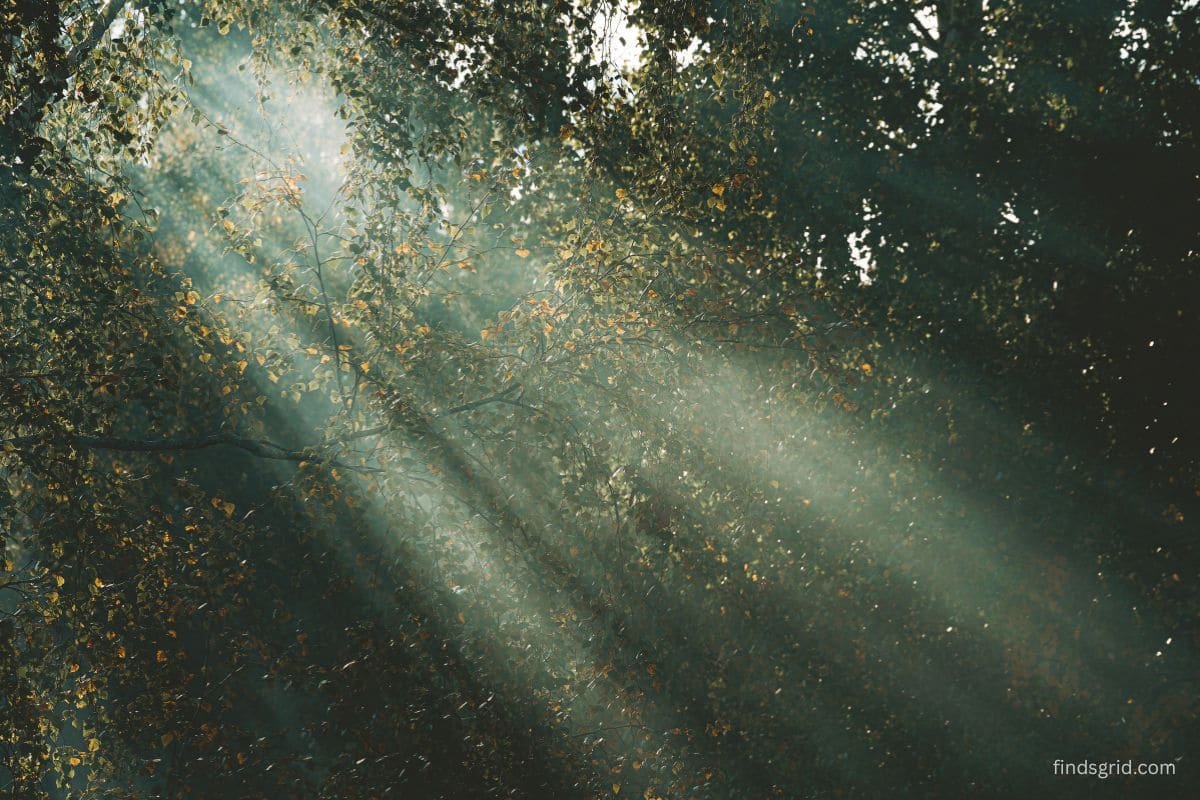
Tap your subject to focus, then drag the little sun icon down a notch so highlights hold their detail. Get down to the subject’s level too. And check where your own shadow is falling, because it will end up in your frame more often than you’d believe. Early morning and late afternoon are best for bark, moss, and stone, since low light rakes across the texture.
If you only try one of these smartphone nature photography tips, make it this one. Light beats gear every time.
When the Subject Is Tiny
Pinching to zoom is mostly digital zoom, which crops the image and stretches it. The further you push, the mushier it gets. Even phones with a real telephoto lens struggle with something ant-sized.
So don’t zoom. Move closer. A lot of newer phones switch to macro mode within a few inches, so use it if yours does. If not, stay on the main camera and creep in until it locks focus. I skip the ultra-wide for close work unless the phone uses it for macro on purpose, since it bends the edges of everything.
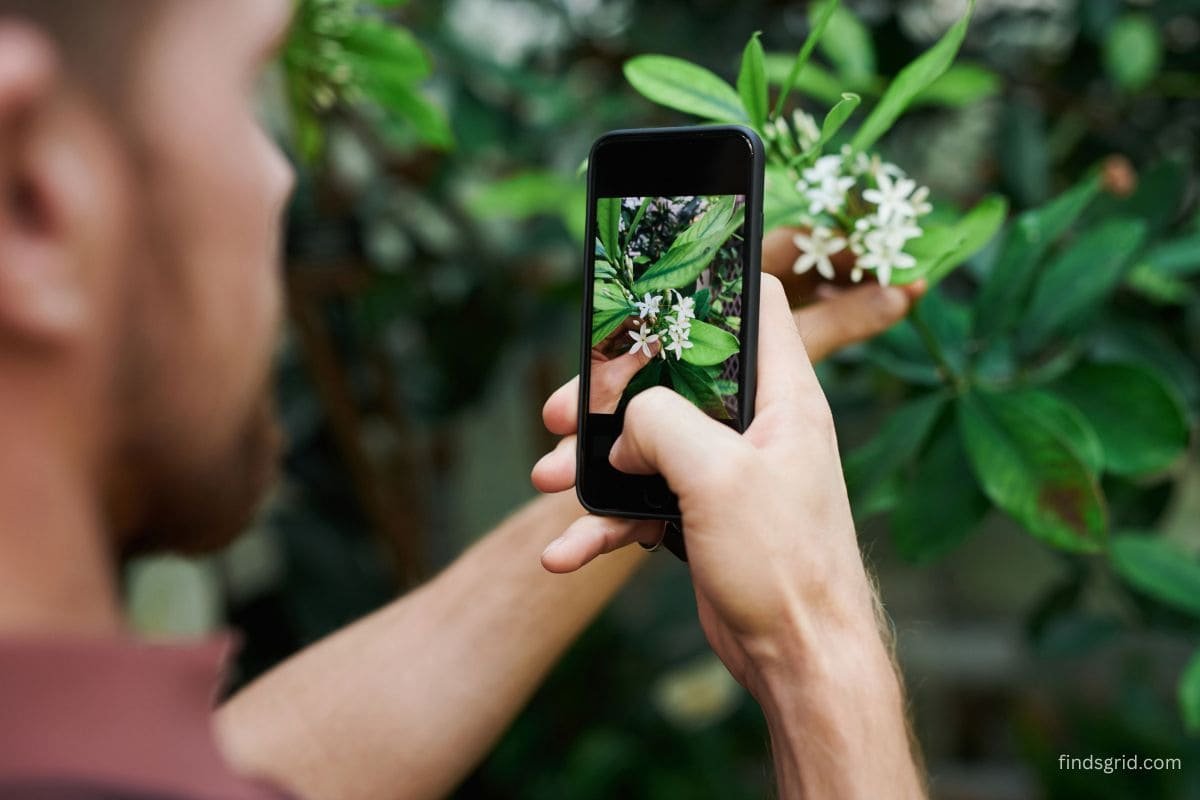
People ask me how to take close up macro photos on trail without hauling a pile of gear. Honestly, it’s mostly body position. Kneel, and rest your elbows on your knees or your hand on a rock. Move slowly, because bugs and leaves both notice sudden motion. If a stem is swaying, turn your back to the wind and let your body be the windbreak. Then shoot more frames than feels reasonable. At this distance a one-millimeter shift changes what’s sharp, so I take eight or ten and keep the best.
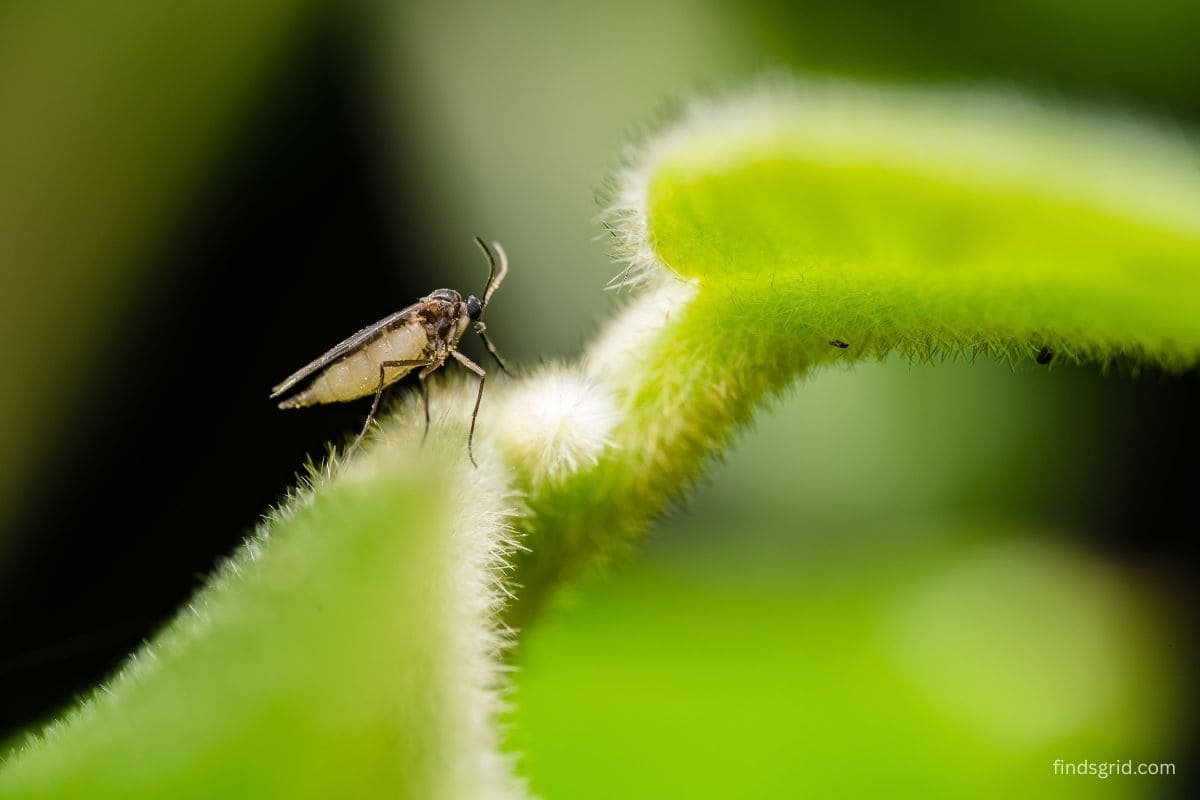
A clip-on macro lens is worth owning if you do this a lot. It snaps over the camera, weighs next to nothing, and gets you much closer on lichen, leaf veins, and insect legs.
And if you want extreme close-up detail on plant structures or micro-fossils beyond basic phone zoom, check out our Carson MicroBrite Pro Microscope Review for field macro optics. The tiny hairs on a stem and the ridges on a fossil fragment look like a different world.
This is really the heart of any documenting plants and insects hiking guide. Slow down, get low, and let the small stuff show up.
When Your Hands Are Full
Scrambling over rocks. Crossing a creek with trekking poles. Pushing branches out of the way. None of that works with a phone in your fist, but these are often the moments you most want on video.
Shake is what ruins trail footage. Every step bounces your body and the phone records all of it. Walk with soft knees and roll heel to toe instead of stomping. If you’re holding the phone, tuck your elbows against your ribs, since your torso is steadier than your arms. Turn on video stabilization even though it crops the frame a bit. If you might slow a clip down later, raise the frame rate before you start.
For real filming hands free pov outdoor video, though, a mount wins. Chest mounts, backpack strap mounts, and magnetic mounts all work, and your hands stay free for poles, rocks, and branches. I also use mine to record spoken field notes while I’m crouched over a plant, sorting through leaves with both hands.
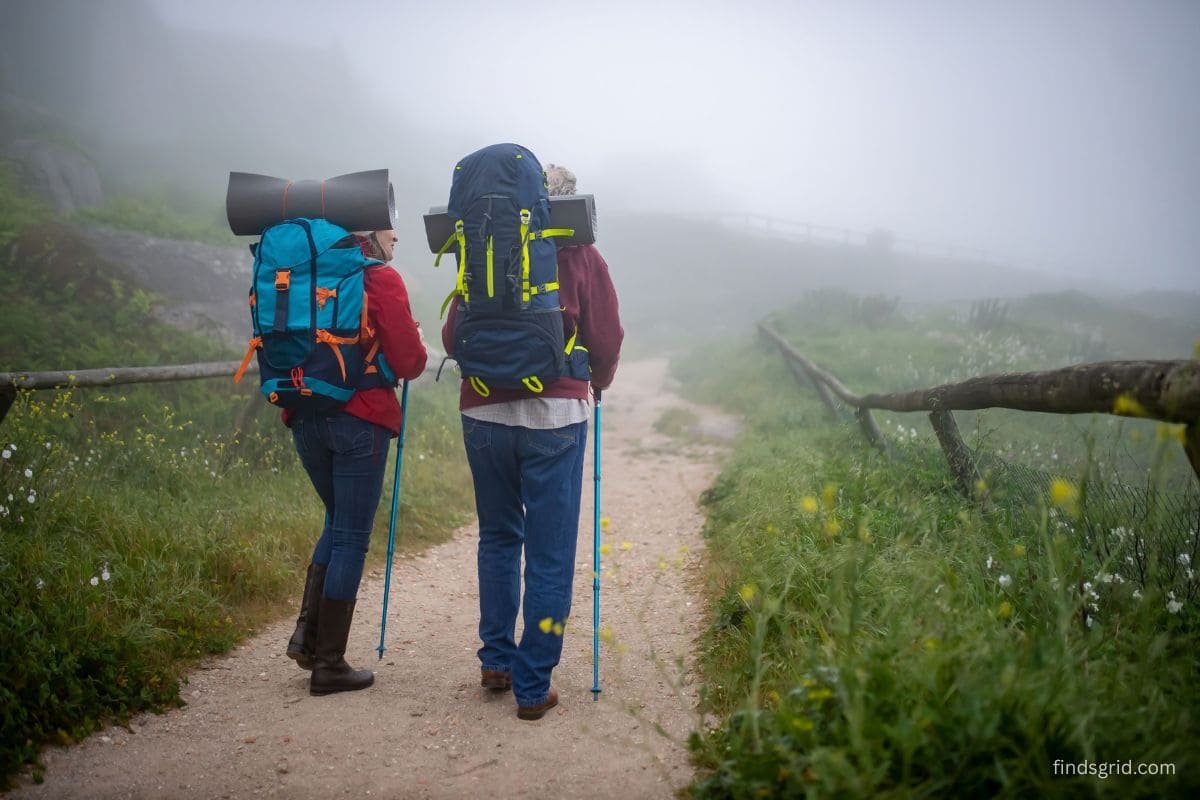
If you want to film hands-free movement or POV tutorials while keeping your hands free on the trail, see our full Telesin Mount Review for MagSafe setup options. A magnetic mount lets you pop the phone off for a quick still and snap it back on without wrestling straps.
Two warnings. Test any mount before trusting it near a cliff or a river. And use a wrist strap or lanyard whenever you’re scrambling, because watching your phone bounce down a ravine is a lousy way to end a hike.
Quick Fix Sheet: Problem, Mistake, Fix
| Documentation Goal | Common Mobile Mistake | Proper Field Technique | Essential Field Accessory |
|---|---|---|---|
| Sharp leaf or flower detail | Shooting in harsh midday sun | Move to open shade or block the sun with a hat or jacket | Collapsible diffuser or reflector |
| Extreme close-up of insects or plant parts | Pinching to digital zoom | Move closer, brace your elbows, shoot several frames | Clip-on macro lens or pocket microscope |
| Smooth walking or POV video | Holding the phone at arm’s length | Use a secure mount, stabilization mode, heel-to-toe steps | Magnetic or chest mount |
| Cutting glare on shiny leaves or wet rock | Shooting straight on | Shift your angle and shoot slightly off to the side | Clip-on polarizing filter |
| Keeping track of finds | Leaving photos unlabeled | Turn on geotagging, add a quick note or voice memo | Notes app and organized albums |
| Protecting your phone camera | Tossing the phone loose in a pocket | Wipe the lens often, store it somewhere padded | Rugged case and microfiber cloth |
When You Get Home: Don’t Let It Rot in Your Camera Roll
A great photo with no context loses most of its value. Three months from now you won’t remember which trail had that weird fungus, or what week the warblers came through.
Location tagging, which you switched on before the hike, now pays off. Every photo carries its GPS data, so you get a map of your finds for free. That’s handy if you want to revisit a spot in a different season. It usually works without cell signal, too.
The notes matter just as much. Right after you shoot, add a quick one while it’s fresh. A notes app, a voice memo, or the photo caption all work. I jot down the date, the habitat (creek bank, dry ridge, pine woods), and whatever caught my eye, like what the insect was doing. Voice memos are a lifesaver when your hands are muddy.
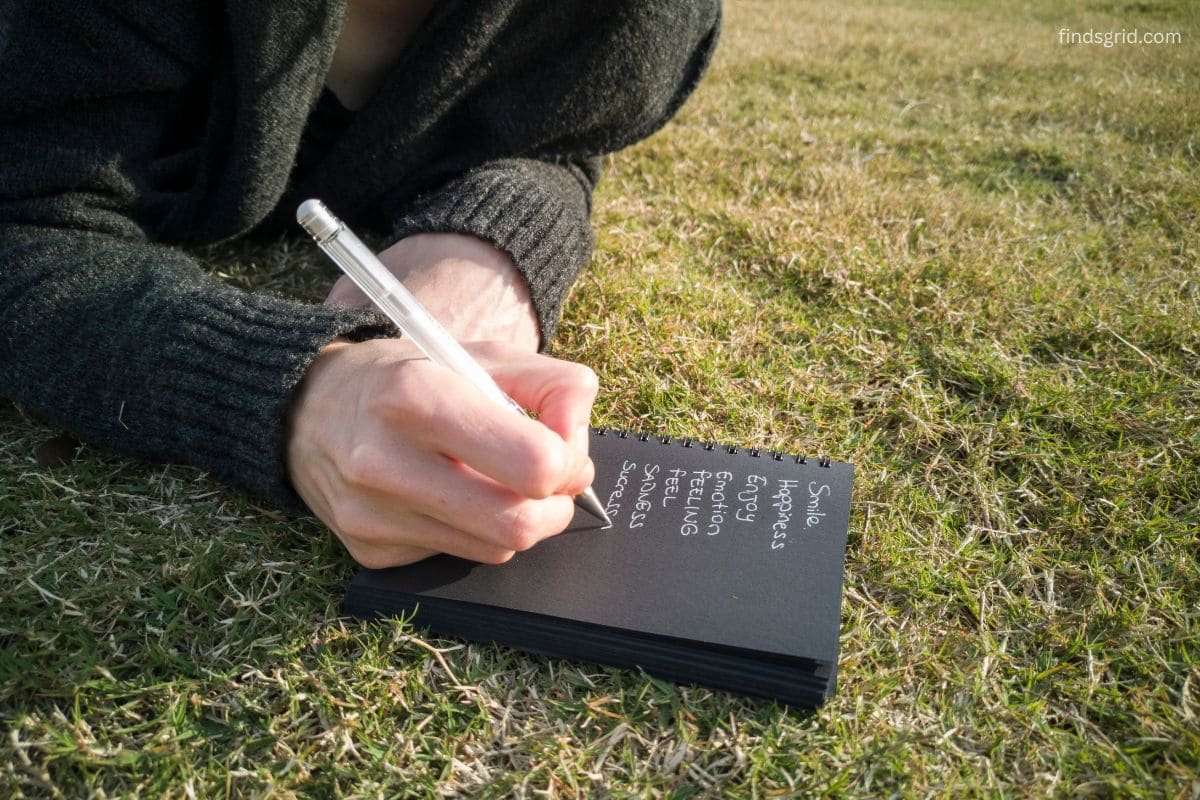
At home, sort photos into albums by trip or by type, like Plants, Insects, and Rocks. It takes seconds. Then back everything up, in case your phone ever goes for a swim.
Think of each photo as a notebook page: a picture, a place, a note. Do that for one season and you’ll have a real record of what lives where.
Questions I Get Asked on the Trail
Tap and hold on the subject until you see an AE/AF Lock message (the wording differs by phone). That freezes focus and exposure, so the camera stops hunting every time the breeze moves something. Then shoot a quick burst, because moving subjects reward extra frames. If a leaf still won’t sit still, block the wind with your body or steady the stem with your fingers.
Not really. It crops and enlarges the image, so fine texture goes soft and grainy. You’ll get better results by moving closer, using macro mode, or adding a clip-on macro lens. One trick I like: shoot at normal zoom in the highest resolution your phone offers, then crop later. You keep more real detail that way.
Use a sturdy case with a raised lip around the camera. Wipe the lens with a clean microfiber cloth before you shoot, since fingerprints and trail dust cause most of the hazy photos I see. In wet or dusty weather, keep the phone in a zippered pocket or dry bag between shots. And never wipe a gritty lens with your shirt. Blow the dust off first, then wipe gently, or you’ll scratch the glass.
Final Thoughts on Smartphone Nature Photography Tips
You don’t need expensive gear or years of practice to document what you find outside. You need some patience, a willingness to kneel in the dirt, and a few habits: soft light, a steady phone, closer optics when the subject is tiny, and a note before you forget. Put these smartphone nature photography tips to work and your snapshots turn into a real record of where you’ve been. Next time something strange stops you mid-stride, you’ll be ready, and the fungus won’t get away.